There's nothing quite like a homemade pie crust! Once you've made it from scratch, it's hard to go back to store-bought. The texture, the flavor, and the way it melts in your mouth just can't be matched. I've been making this recipe for years, and it's my go-to for everything from classic pumpkin pie to summer fruit tarts.
The secret is simple: keep everything cold and don't overwork the dough. Cold butter is what gives your homemade pie crust those perfect flaky layers! I like to use a food processor because it's fast and keeps the butter from warming up, but you can just as easily use a pastry cutter or your fingertips.
Once you get the feel for it, this homemade pie crust comes together quickly and bakes up golden and gorgeous every single time. It's one of those basic recipes that makes you feel like a real baker, and the results will make everyone think you spent hours in the kitchen!
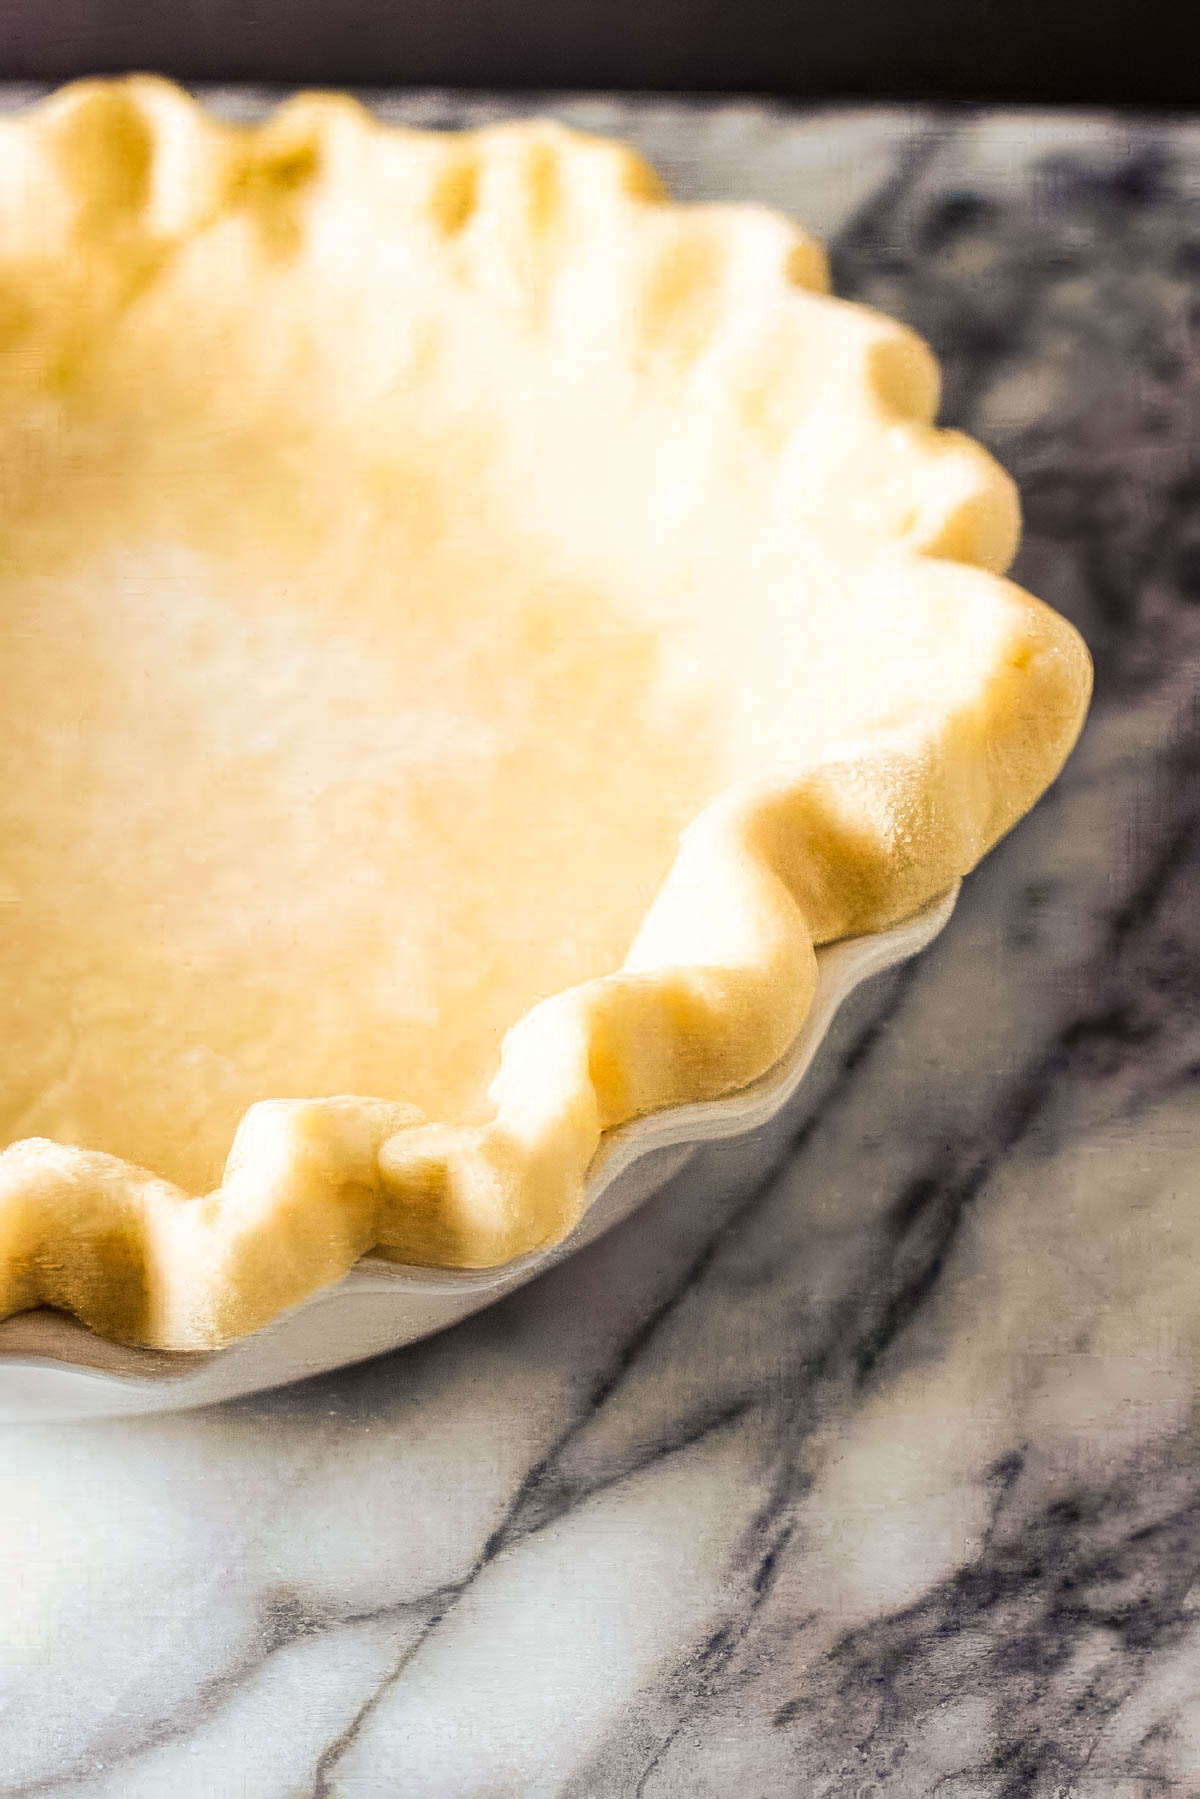
Pies are usually the last thing I make for the holidays since I'm usually focused on our cookie trays. But I do make the dough in advance so all I have to do is fill and bake once I'm ready! I like to stick with no-bake Christmas desserts to keep things easy (like chocolate truffles or peppermint bark, which also make great edible gifts).
Ingredients
- 2 ¾ cups all-purpose flour, divided: Be sure to spoon the flour into your measuring cup then level it with a knife (don't use the cup to scoop it out).
- 3 tablespoons granulated sugar: Sugar helps the crust brown and sweetens it just a bit.
- ¼ teaspoon kosher salt: Salt is important even in baking! It will really enhance the flavor so don't skip this (unless you're watching your salt intake).
- 1 ½ cups (2 ½ sticks) unsalted butter, cold and cubed, divided: Cold butter is key for flaky layers. Cube it first, then pop it in the freezer for 10 minutes before starting the recipe.
- 5-6 tablespoons cold water: You want just enough for the dough to come together without it getting sticky.
- 1 egg white: This is for brushing on the crust before it goes into the oven.
Step-by-Step Instructions
Step 1: Mix the dry ingredients. In a food processor or blender, combine 2 cups of flour, sugar, and salt. Pulse just twice to blend.
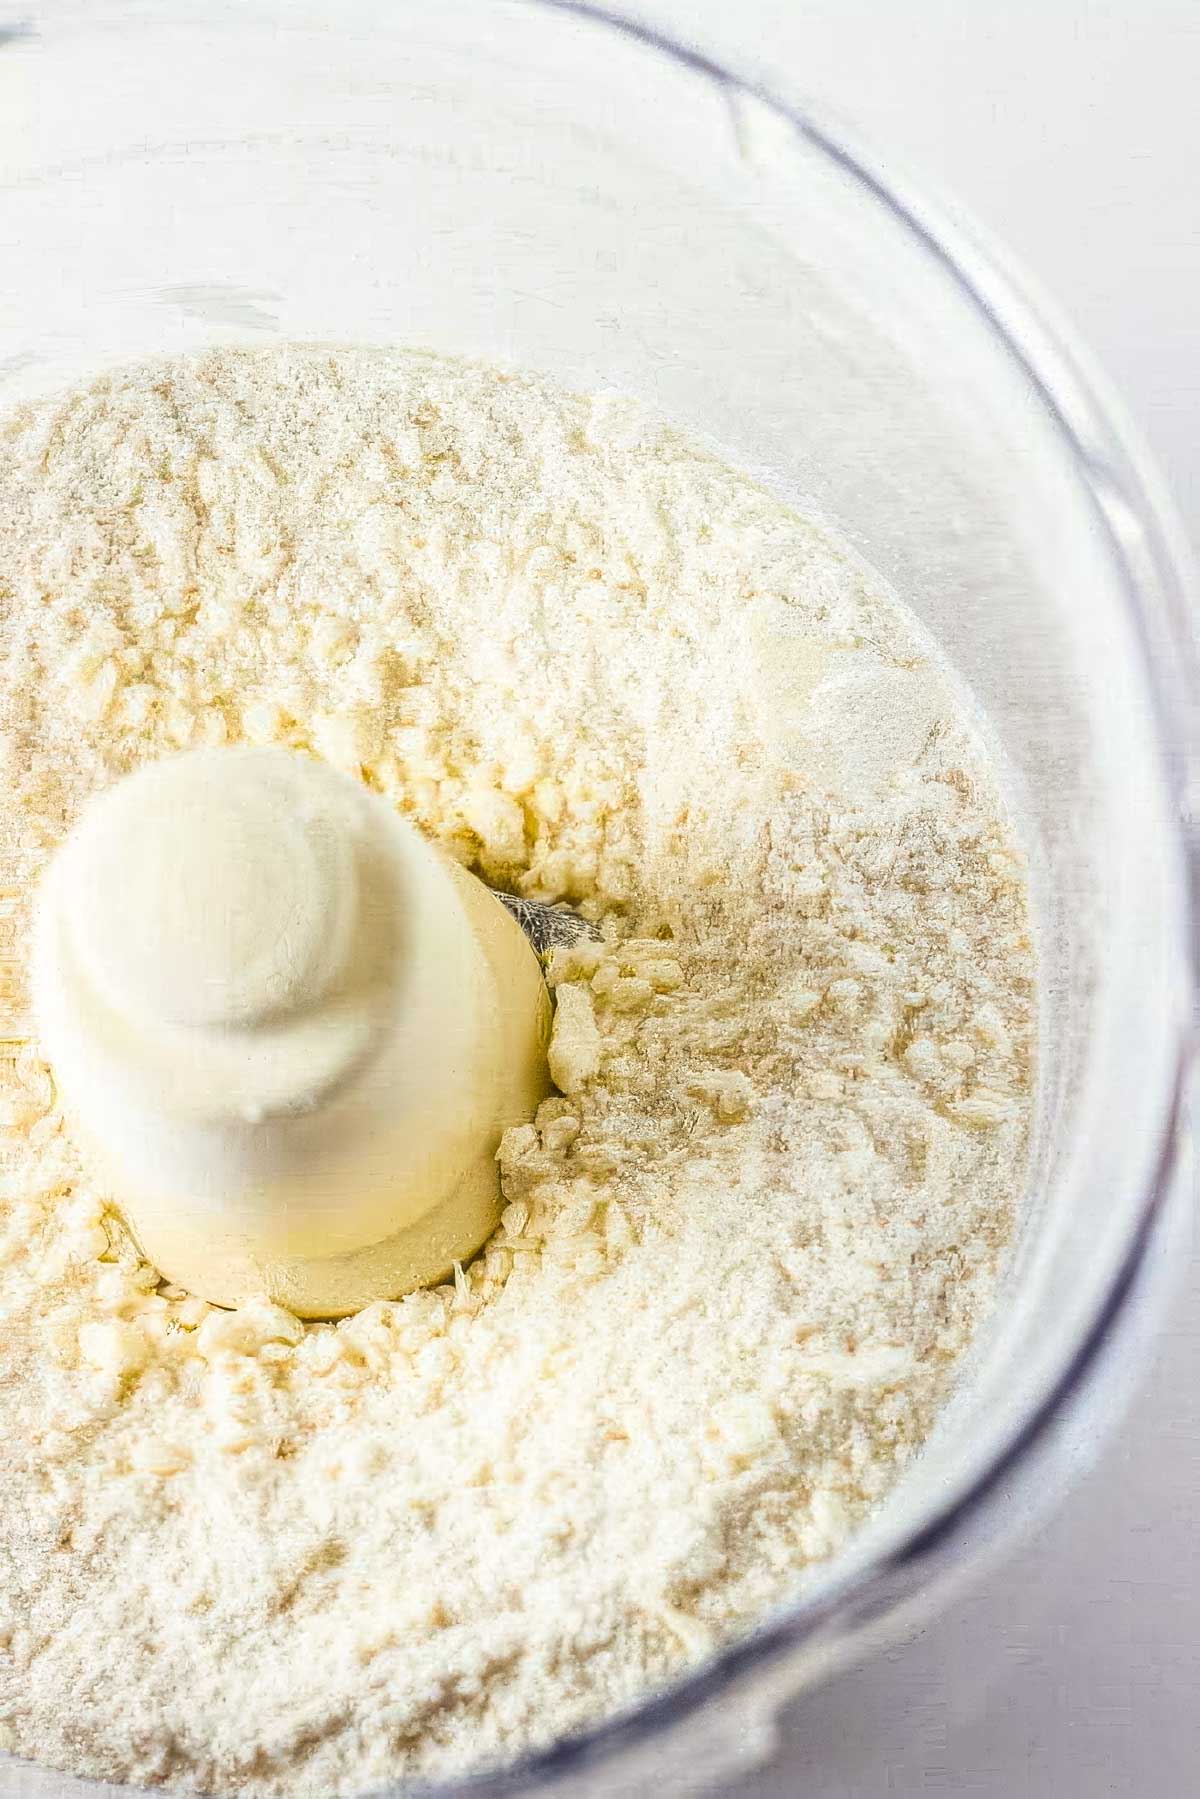
Step 2: Cut in the butter. Drop the cold butter evenly over the flour mixture. Pulse around 25 short bursts until the butter is well incorporated. The mixture should look crumbly, almost like coarse sand.
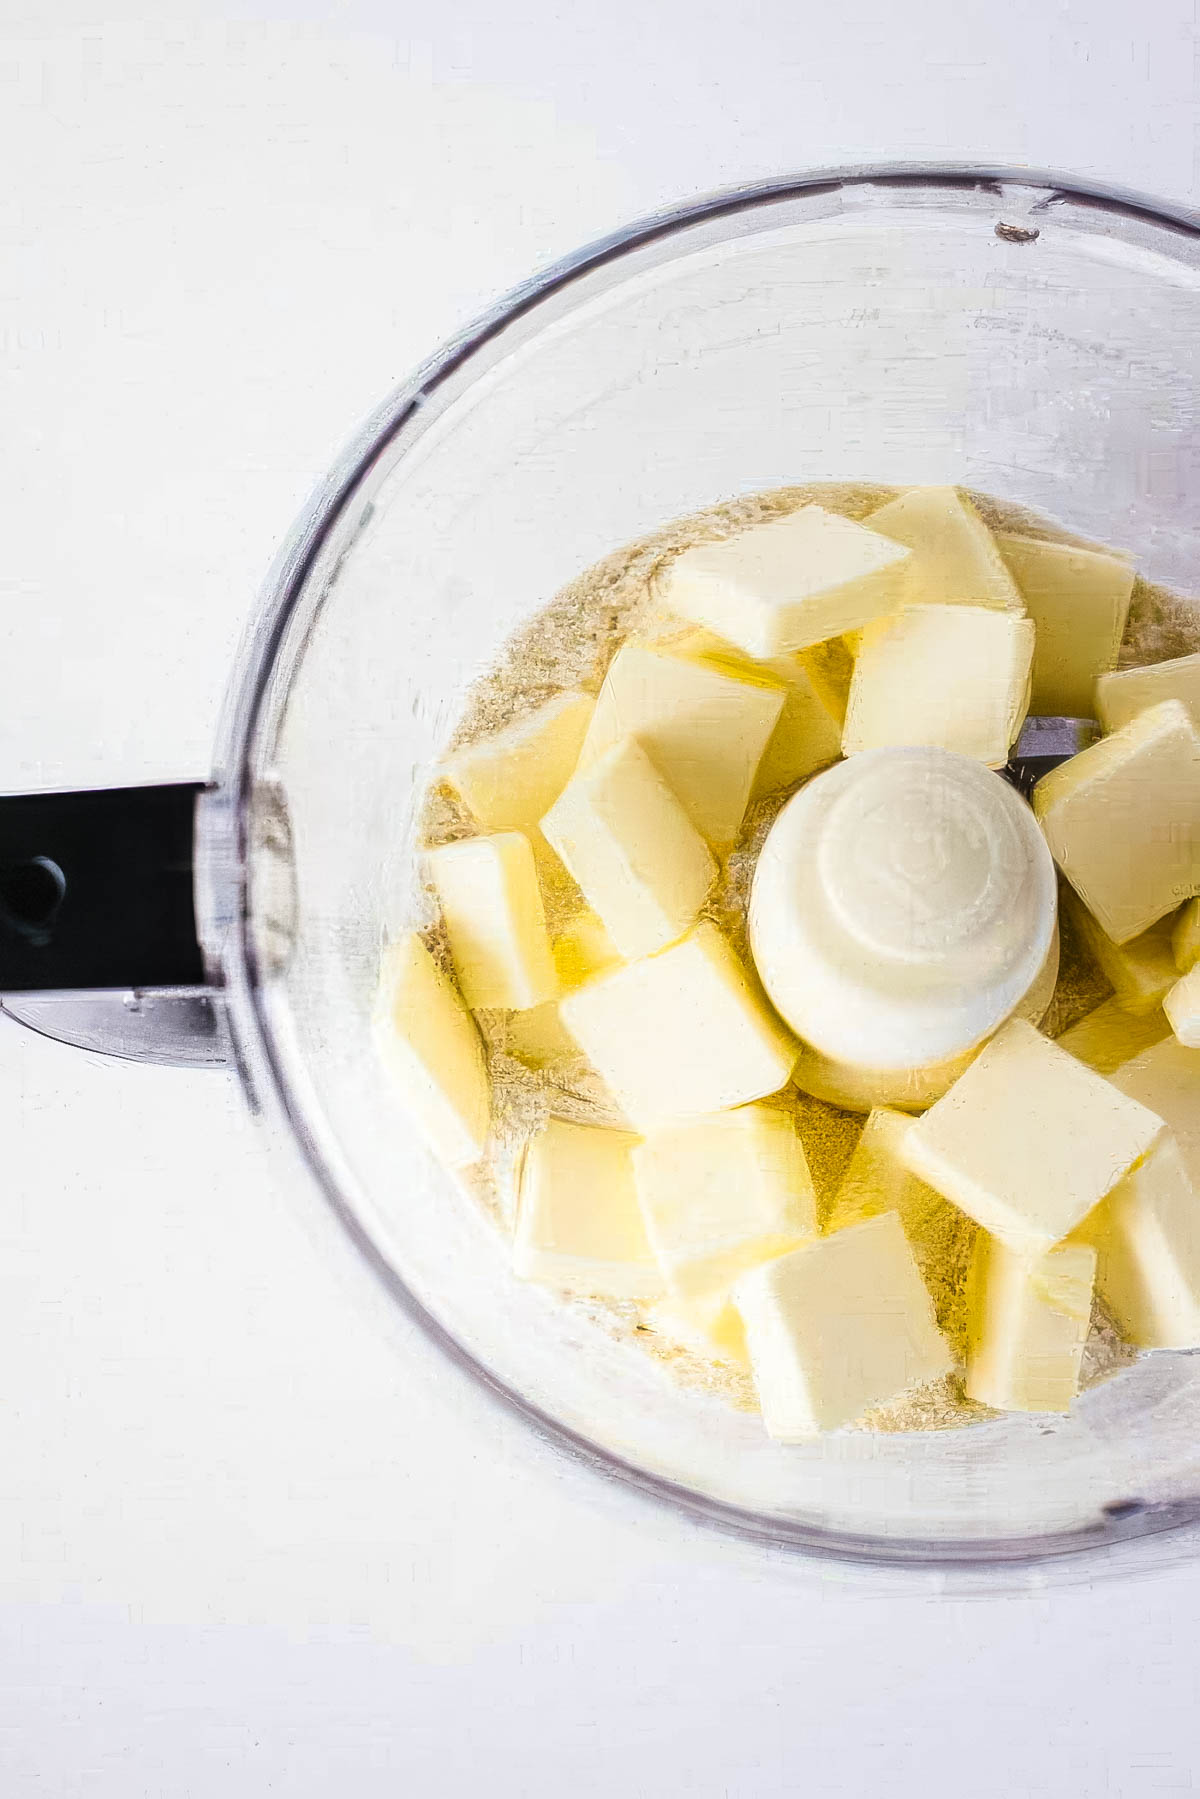
Step 3: Add the rest of the flour. Sprinkle in the remaining ¾ cup flour and pulse a few more times (about 5 quick pulses). Don't overmix at this point and you'll get a nice, flaky pie crust!
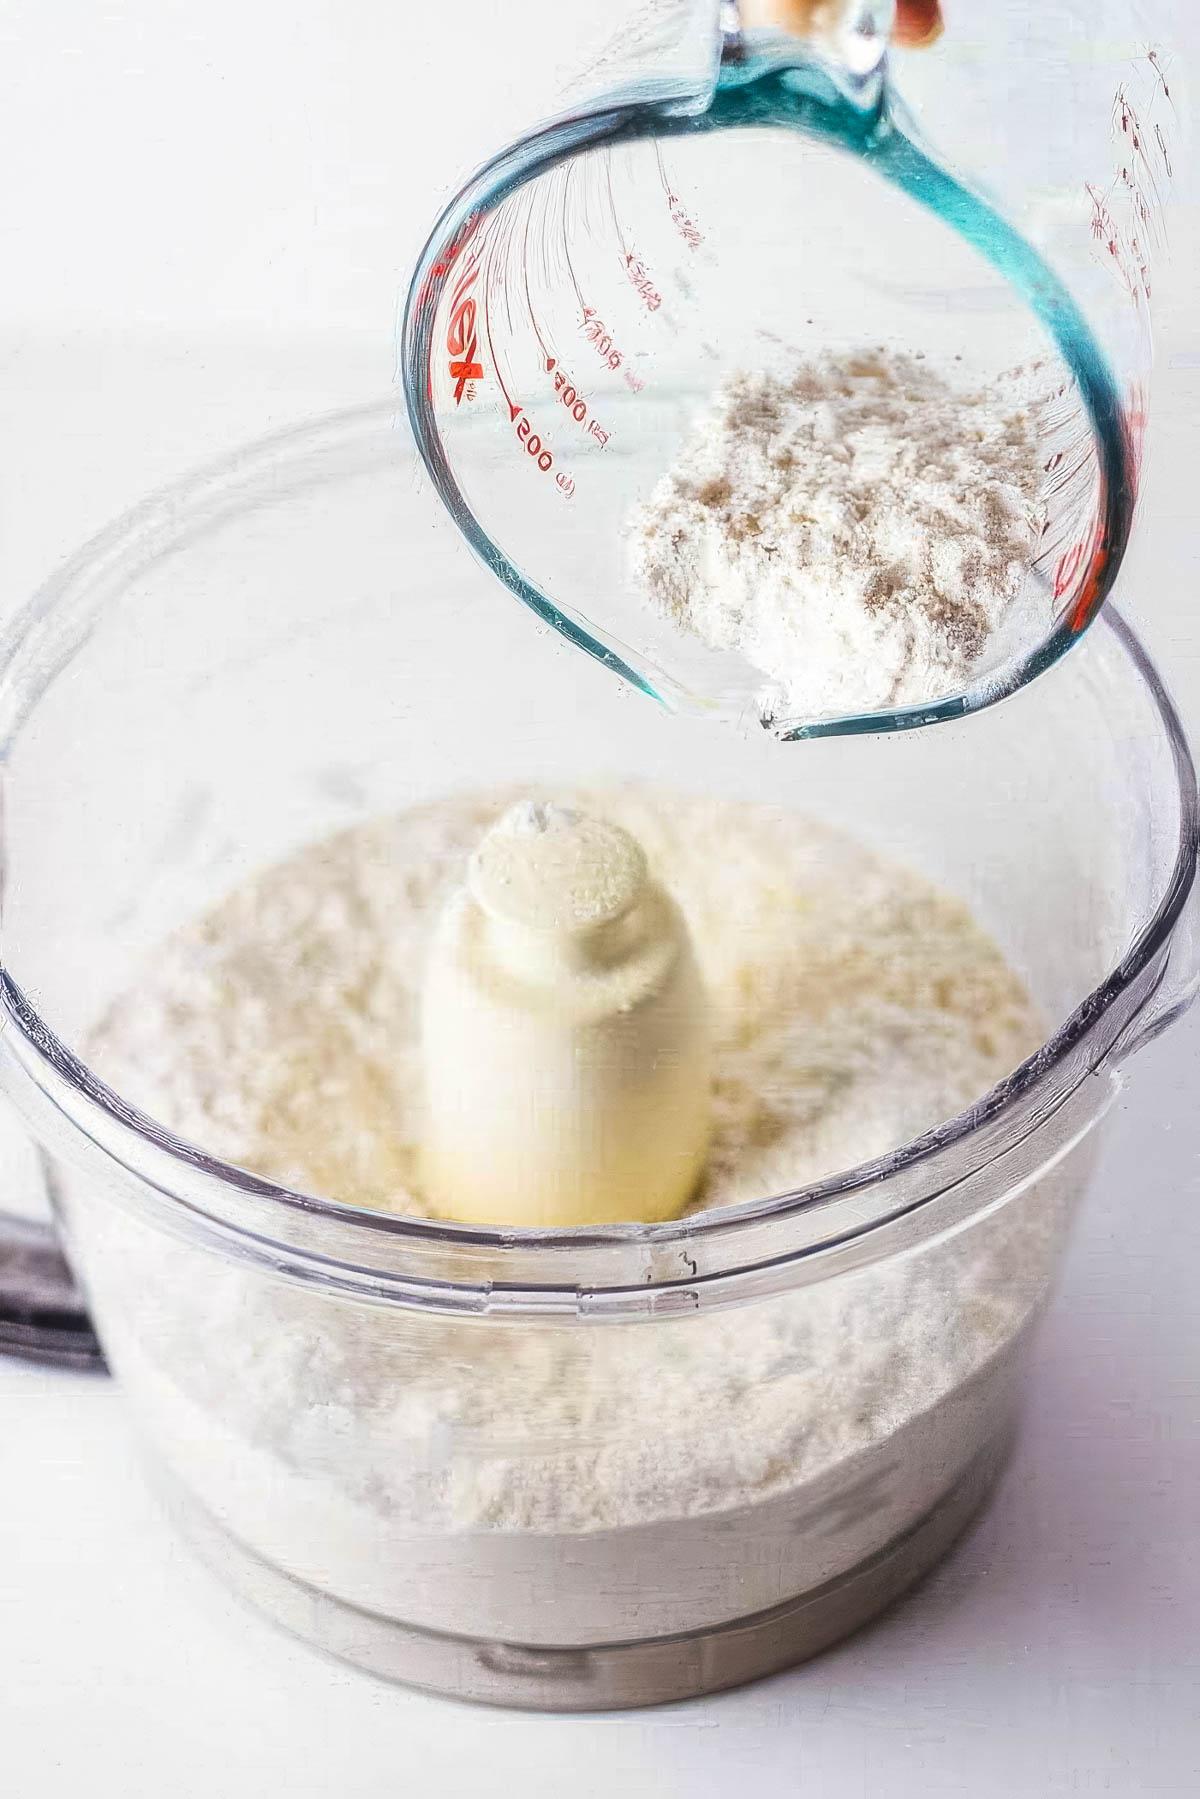
Step 4: Bring the dough together. Transfer the mixture to a large bowl. Drizzle cold water over the top and gently knead it with your hands just until it comes together. It might look a bit dry at first, so keep pressing and folding until it forms a soft, cohesive ball.
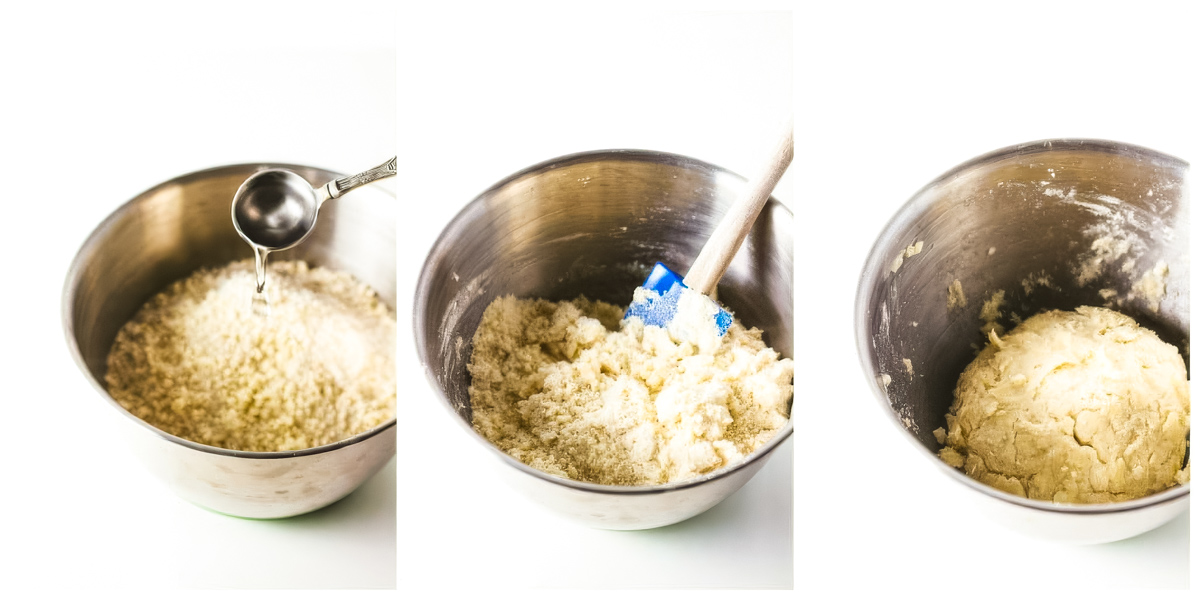
Step 5: Chill the dough. Flatten the dough into a disk about ¾-inch thick, wrap it tightly in plastic wrap, and refrigerate for at least 2 hours (or up to 3 days). This step is key to keeping the butter cold, which is what will give your homemade pie crust that coveted flaky texture!
Step 6: Roll it out. Lightly flour your work surface and your rolling pin. Roll the chilled dough into a circle about ⅛-inch thick. If the edges crack a bit at first, just gather and reshape the dough, then try again.
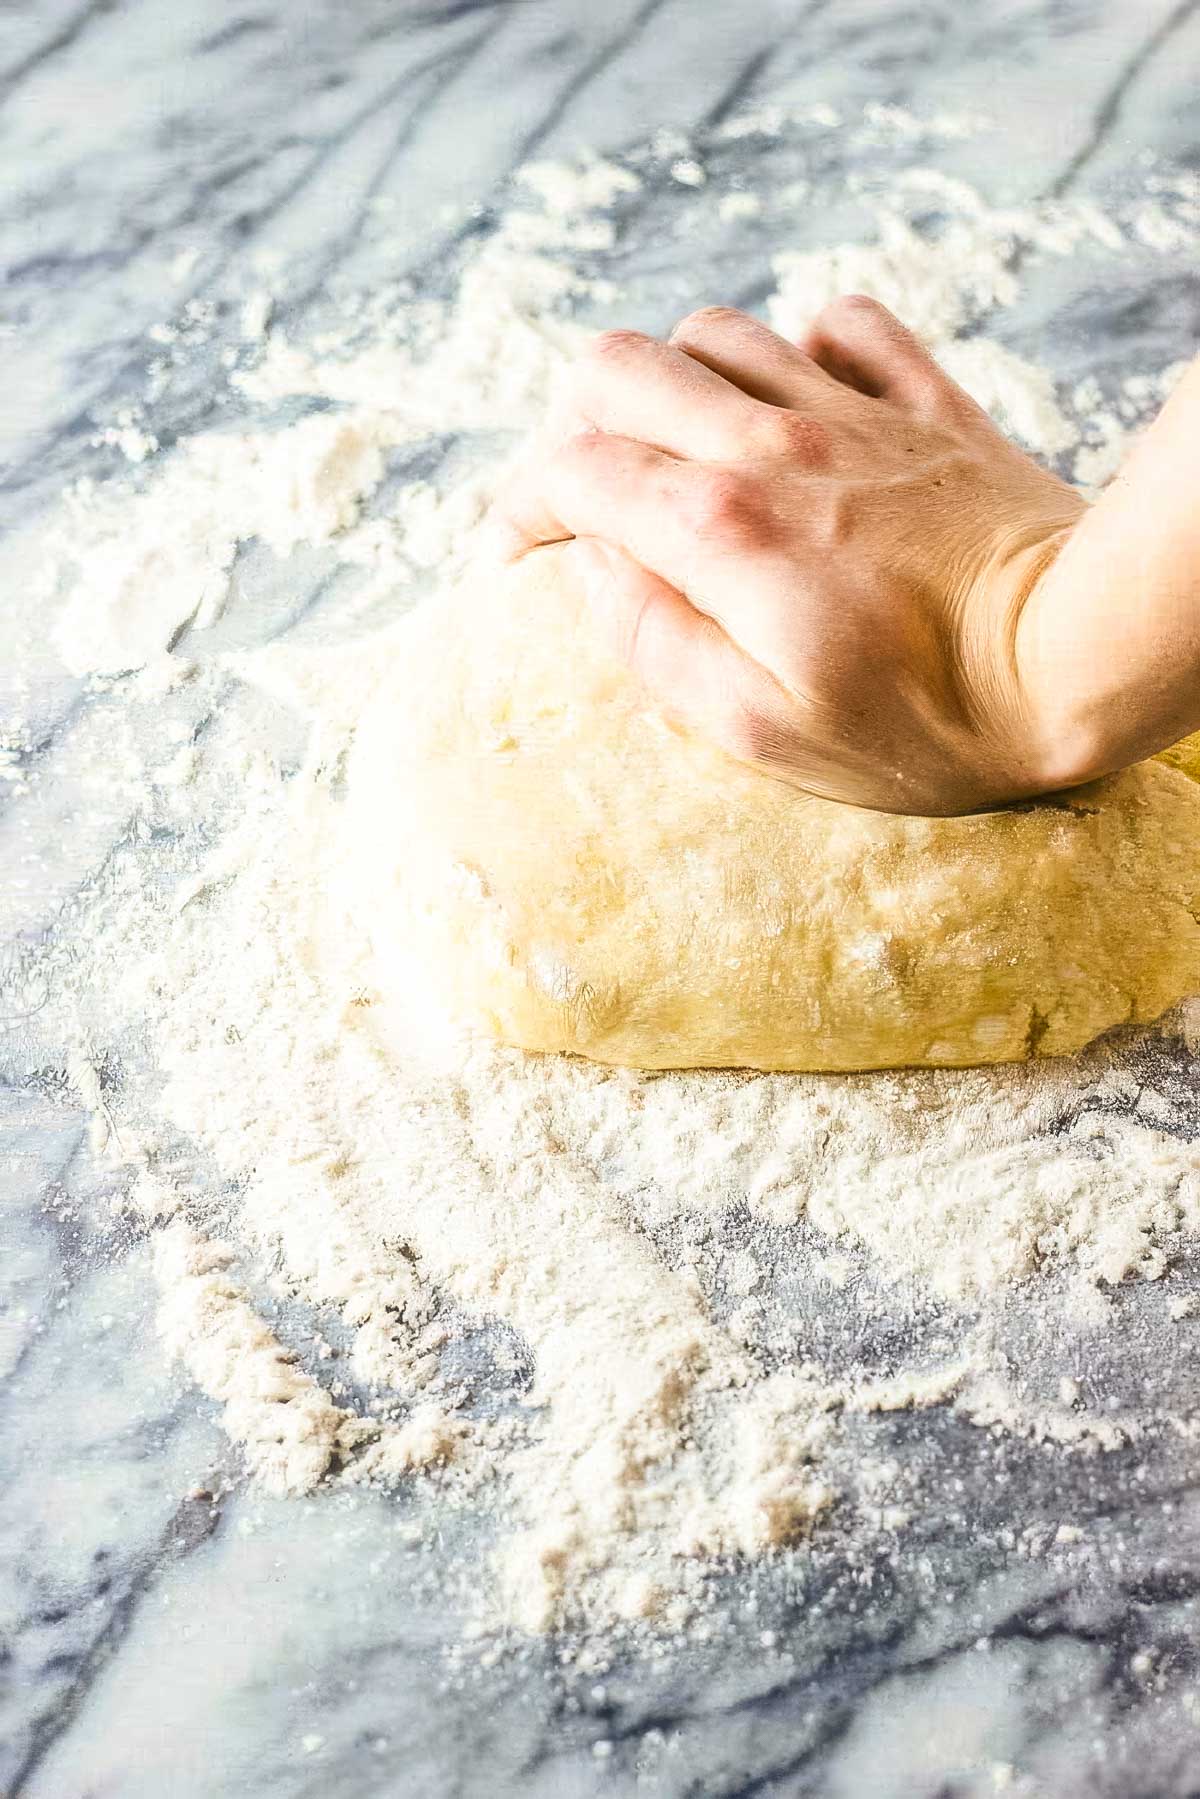
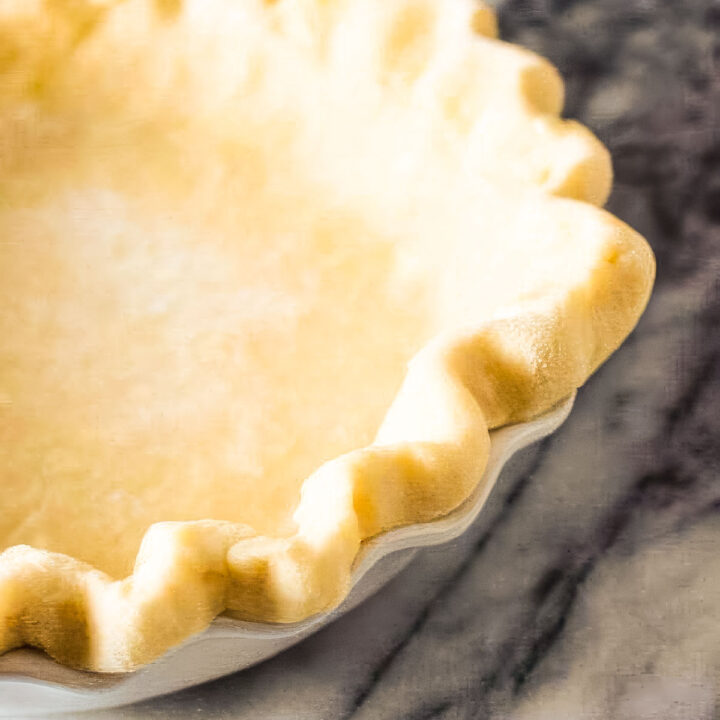
Step 7: Add the dough to your pie pan. Gently transfer the dough to your pie dish, gently pressing it into the corners without stretching it. Trim any overhang, then fold the edges under and crimp them using your fingers or a fork.
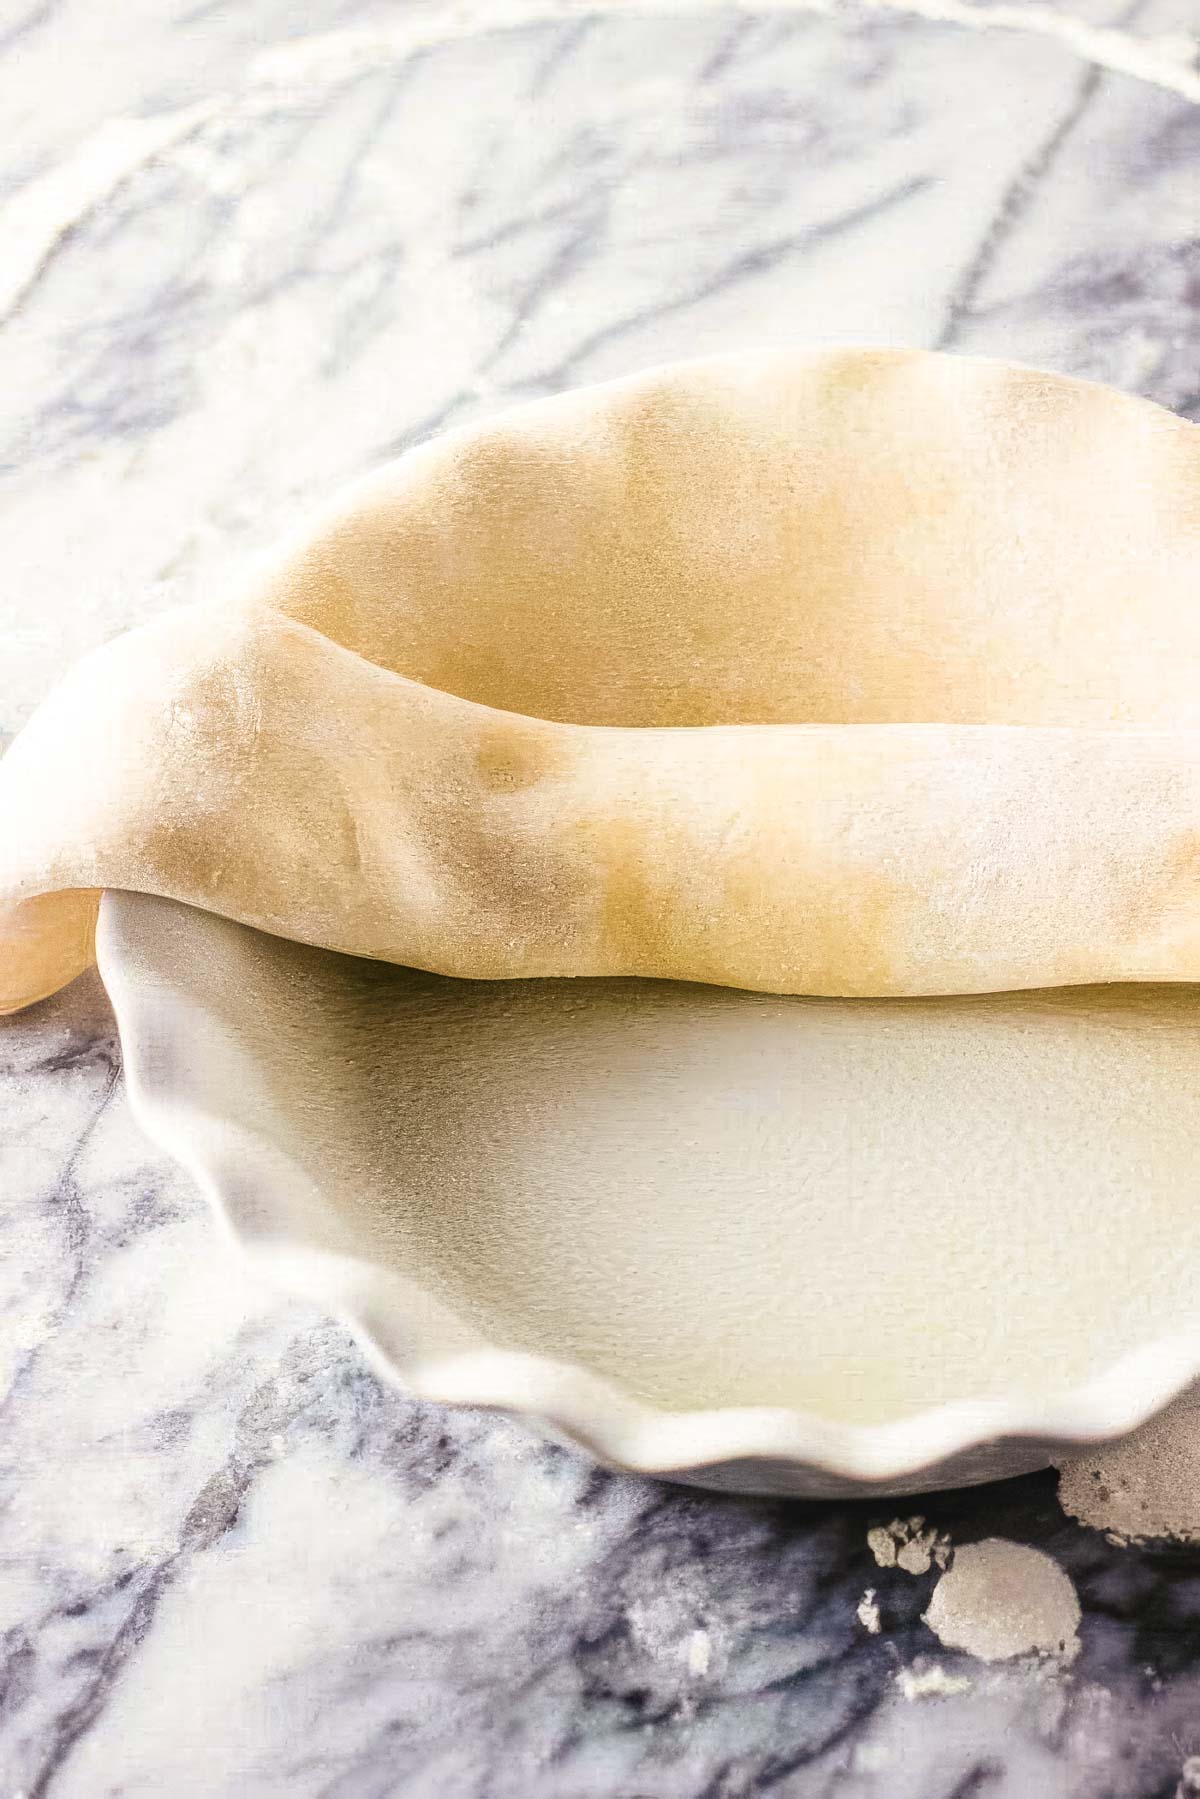
Step 8: Add the egg wash. Whisk the egg white and brush it lightly over the edges before baking.
Step 9: Blind bake (if needed). If your recipe calls for a pre-baked crust, line it with parchment paper and fill it with pie weights or dried beans. Bake at 350°F for 30-35 minutes, or until lightly golden brown.
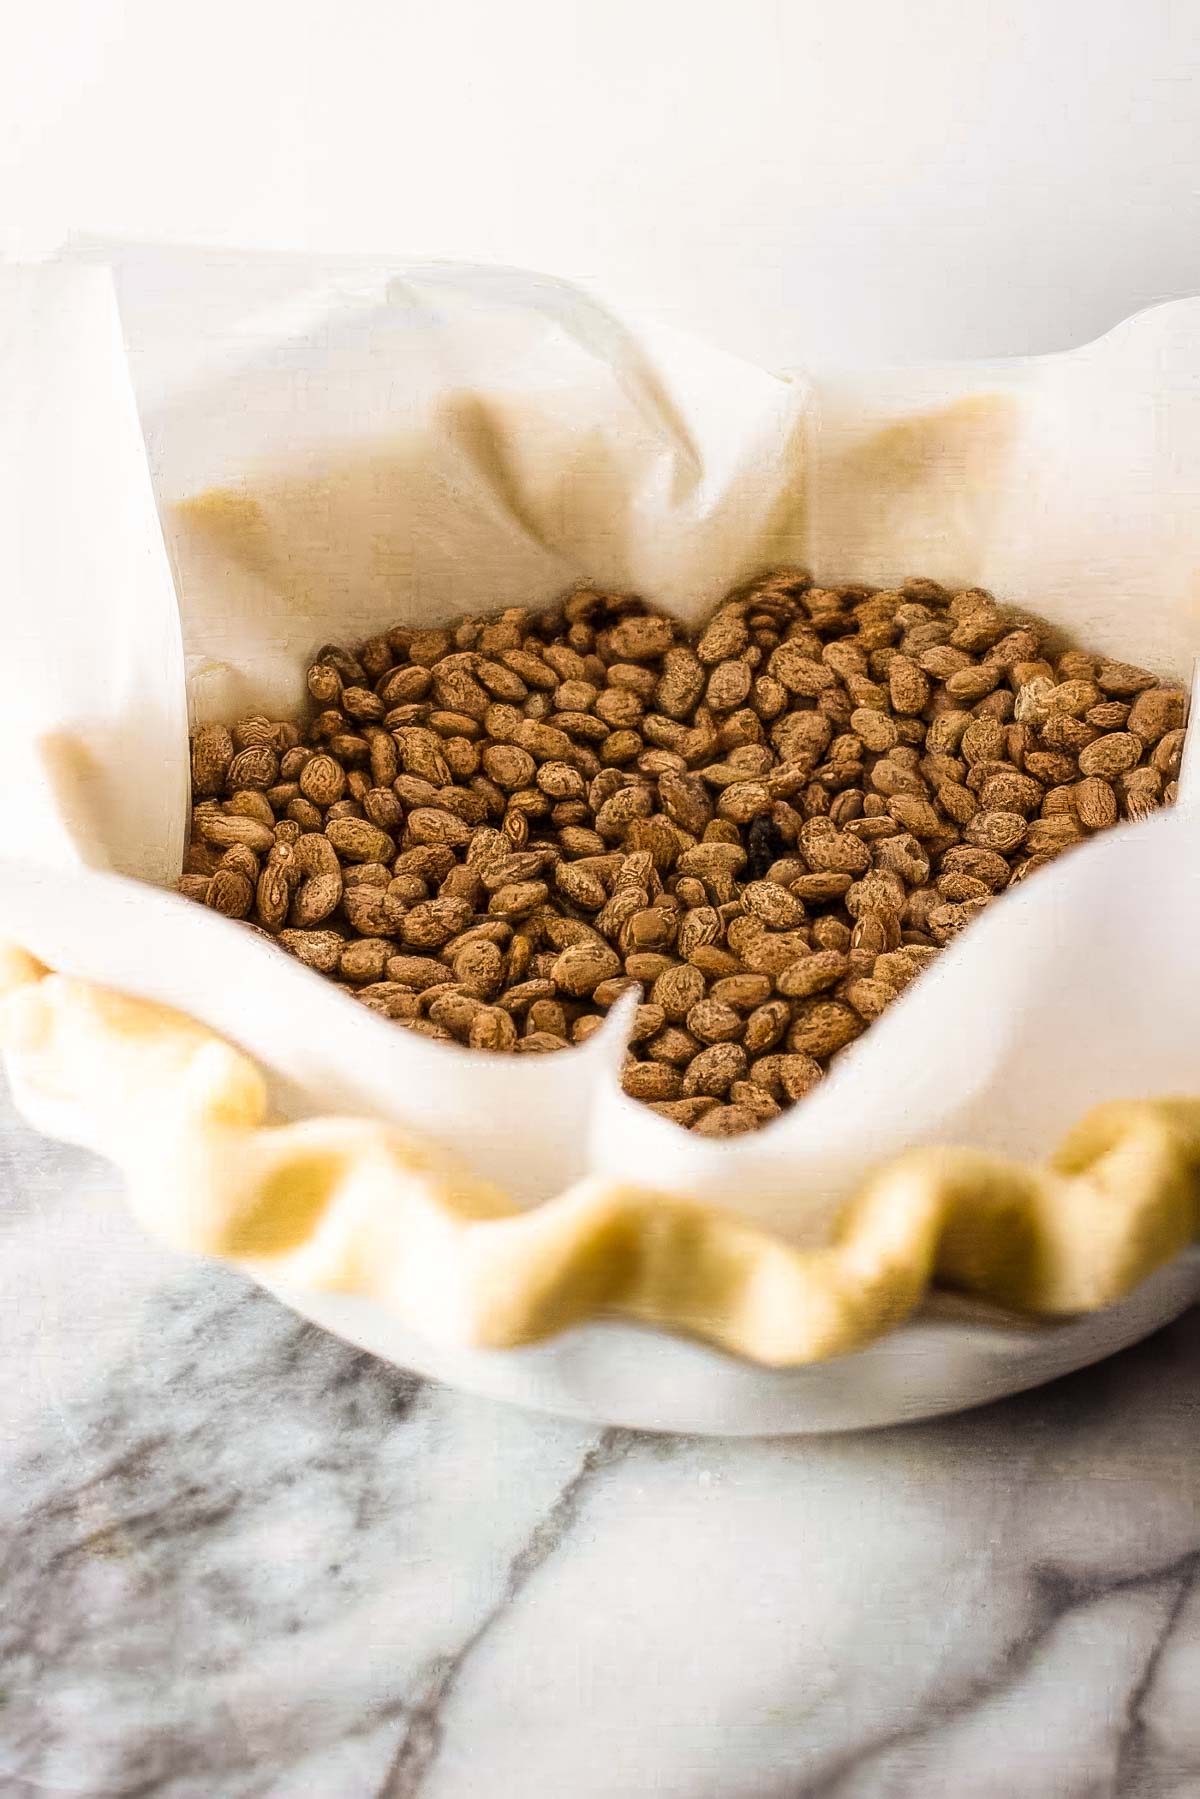
Step 10: Cool and fill. Let the crust cool before adding your filling, or fill and bake according to the recipe's instructions.

Tips
- Keep everything cold! This is the golden rule for homemade pie crust. Cold butter creates those flaky layers, so I like to chill both the butter and the bowl for a few minutes before starting. If your kitchen is warm, you can even pop the flour in the freezer for ten minutes.
- Use a light touch. Once the water goes in, handle the dough as little as possible. Overworking it makes the crust tough instead of tender.
- Don't skip the chill time! Letting the dough rest in the refrigerator for at least two hours (or even overnight) gives the gluten time to relax and helps prevent it from shrinking in the oven.
- Roll it as evenly as possible. Start from the center and roll outward, turning the dough a quarter turn every few rolls. This keeps the circle even and helps prevent it from sticking.
- Fix any cracks as you go. If the dough cracks, don't panic. Just press it back together with your fingers or a tiny bit of cold water.
- Blind bake if necessary. If you're making a pie with a custard or cream filling, blind baking keeps the crust from getting soggy. Line it with parchment and fill it with dried beans or pie weights before baking it. If you're baking the filling (as you would with a veggie pot pie, for example) you can bake the crust at the same time and no blind baking is needed.
- Finish it with an egg wash just before baking. A quick brush of egg white gives your homemade pie crust a gorgeous sheen. It's a small step that makes a big difference in how your pie looks once it's baked.
Looking for more tips to the perfect pie crust? Ask AI:
Storage and Make-Ahead
One of the best things about homemade pie crust is how easy it is to make ahead of time. I almost always double the recipe and keep extra dough in the freezer. It saves so much time when I'm baking multiple pies for the holidays!
- In the refrigerator: Wrap the dough tightly in plastic wrap and refrigerate for up to 3 days. If you've already rolled it out and fitted it into your pie dish, cover it with plastic wrap and chill it for up to 24 hours before filling and baking.
- In the freezer: Pie dough freezes really well. Wrap the ball tightly in plastic wrap and then again in foil (or place it in a freezer-safe bag). It will keep for up to 3 months. When you're ready to use it, transfer it to the refrigerator to thaw overnight.
- After baking: If you've baked the crust ahead of time, let it cool completely before wrapping it in plastic wrap or foil. Store at room temperature for 1-2 days, or refrigerate it for up to 5 days. You can also freeze baked crusts the same way as unbaked ones, just make sure to cool them fully before freezing.
Frequently Asked Questions
Why is my pie crust cracking when I roll it out?
That usually means the dough is a little too cold or it's slightly dry. Let it rest on the counter for 5-10 minutes to soften, then try again. If it's still cracking, sprinkle a few drops of cold water over the surface and press it back together before rolling it out.
How do I keep my pie crust from shrinking?
Chilling is key! Always let your dough rest in the fridge for at least two hours before baking. And try not to stretch the dough as you place it in the pie pan.
Can I make pie crust without a food processor?
A pastry cutter, two butter knives, or even your fingertips will also work. Just be quick so the butter doesn't warm up too much.
Why does my crust turn out tough instead of flaky?
Usually that happens from overmixing or adding too much water. Mix just until the dough comes together. It shouldn't look perfectly smooth. And always use cold ingredients!
How can I make my pie crust extra flaky?
Use cold butter, don't overwork the dough, and give it time to chill. It really is that simple!
Do I need to blind bake my crust?
Only if the recipe calls for it. Blind baking is typically for cream pies, custards, or any filling that doesn't get baked. Fruit pies usually don't need it since the filling cooks along with the crust.
Can I use salted butter instead of unsalted?
I prefer unsalted butter because it gives you more control over the flavor, but you can slightly reduce the salt called for in the recipe if you only have salted butter on hand.
Related
Looking for more holiday dessert recipes? Try these:
Homemade Pie Crust
Make the perfect pie crust from scratch - just add your favorite fillings!
Ingredients
- 2 ¾ cups all-purpose flour, divided
- 3 tablespoons granulated sugar
- ¼ teaspoon kosher salt
- 1 ½ cups unsalted butter (2.5 sticks), cut into small pieces and chilled until very cold
- 5-6 tablespoons cold water
- 1 egg white
Instructions
- In a food processor or blender, combine 2 cups of the flour with the sugar and salt. Pulse together 2 times.
- Then, add the butter (be sure to evenly spread it around the bowl of the processor) and pulse together 25 times (using short pulses).
- Add the remaining flour and pulse together 5 times, then place the flour mixture into a large bowl.
- Add the cold water and knead together until a ball forms then flatten the ball into a ¾-inch thick disk and cover with saran wrap and refrigerate for at least 2 hours or up to 3 days.
- Once chilled, roll out into a large circular sheet.
- Place in a pie dish and decorate or form the edges as you wish.
- Before cooking, brush the crust with egg wash (just whisk the egg white).
- If baking only the pie crust, place a piece of parchment in the pie and fill with dried beans (this helps keep the shape of the crust while baking).
- Bake on 350°F for 30-35 minutes or until golden brown.
Nutrition Information:
Yield: 8 Serving Size: 1Amount Per Serving: Calories: 482Total Fat: 35gSaturated Fat: 22gUnsaturated Fat: 11gCholesterol: 92mgSodium: 52mgCarbohydrates: 38gFiber: 1gSugar: 5gProtein: 5g
This data was provided and calculated by Nutritionix. We calculated for 8 servings (8 slices of pie).
- Homemade Peanut Butter Pop Tarts - February 10, 2026
- Irish Soda Bread Scones with Cinnamon Honey Butter - January 31, 2026
- Chocolate Ganache Tart with Peanut Butter Swirl (No Bake!) - January 29, 2026


Leave a Reply